1. PHOTOGRAPHS AND MICROGRAPHS
If your paper is to be illustrated with one or more photographs, there are several factors to keep in mind.
The most important factor to worry about, however, is a proper appreciation of the value of the photographs for the story you are presenting. The value can range from essentially zero (in which case, like useless tables and graphs, they should not be submitted) to a value that transcends that of the text itself. In many studies of cell ultrastructure, for example, the significance of the paper lies in the photographs. If photographs (such as electron micrographs) are of prime importance to your story, ensure the journal you choose has high-quality reproduction standards, as discussed in Chapter 6.
As with graphs, the size (especially width) of the photograph in relation to the column and page width of the journal can be important. Try to avoid dimensions that will require excessive reduction of the photograph to suit the journal page.
2. SUBMISSION FORMATS
Today, journals normally request photographs in electronic format. To ascertain requirements for photographs, see the instructions to authors for your target journal. For example, check what formats (such as EPS, JPEG, or TIFF) are acceptable and what resolution is required. As indicated in Chapter 5, care must be taken to avoid making unwarranted changes in digital photographs. Sources of guidance on using digital images ethically include writings by Cromey (2010, 2012).
3. CROPPING
Whatever the quality of your photographs, you want to have them published legibly. To some degree, you can control this process yourself if you use your head.
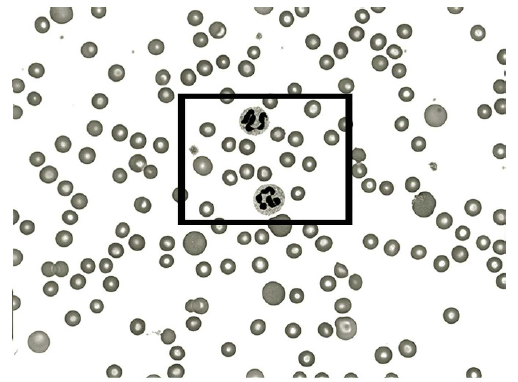
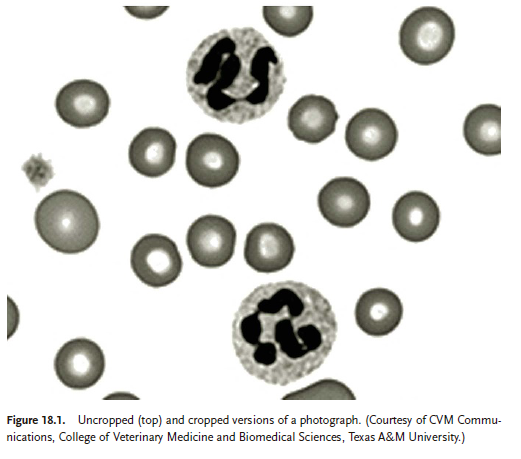
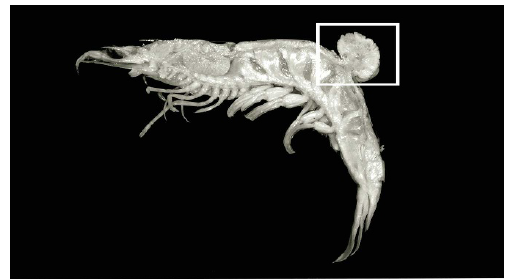
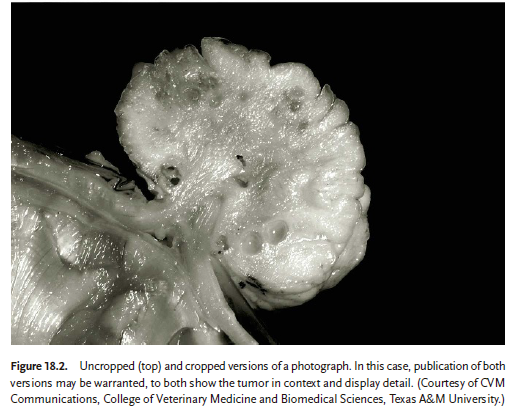
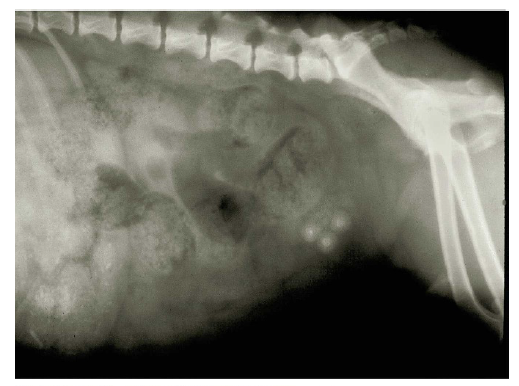
If you are concerned that detail might be lost by excessive reduction, there are several ways you might avoid this. Seldom do you need the whole photograph, right out to all four edges. Therefore, crop the photograph to include only the important part. Commonly, photographs are cropped digitally. If you are submitting a print, you can write “crop marks” on the margin to show where the photograph should be cropped. Figures 18.1 and 18.2 show photographs with and without cropping.
4. NECESSARY KEYS AND GUIDES
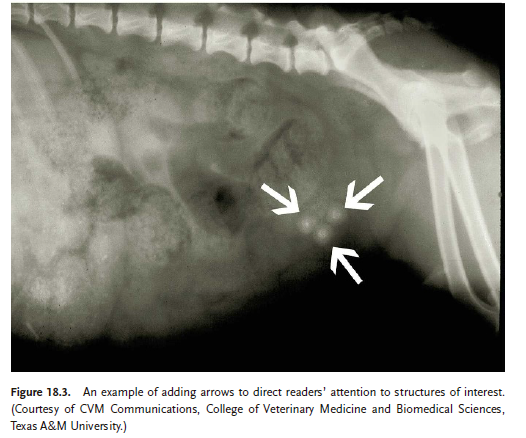
If you can’t crop down to the features of special interest, consider superimposing arrows or letters on the photographs, as shown in Figure 18.3. In this way, you can draw the reader’s attention to the significant features. Having arrows or letters to refer to can aid in writing clear, concise legends.
Unless your journal requests that photographs and other illustrations be embedded in the text, it is a good idea to indicate the preferred location for each illustration. In this way, you will be sure that all illustrations have been referred to in the text, in one-two-three order, and the printer will know how to weave the illustrations into the text so that each one is close to the text related to it.
With electron micrographs, put a micrometer marker directly on the micrograph. In this way, regardless of any reduction (or even enlargement) in the printing process, the magnification factor is clearly evident. The practice of putting the magnification in the legend (for example, x 50,000) is not advisable, and some journals no longer allow it, precisely because the size (and thus magnification) is likely to change in printing. And, usually, the author forgets to change the magnification at the proof stage.
In other photographs where the size of the object is important, likewise include a scale bar. Sometimes showing a familiar object, such as a paper clip, near the object can help readers discern an object’s size. Remember, though, that some objects (such as coins of given denominations) that are familiar to readers in one country might be unfamiliar to readers elsewhere.
5. COLOR
Until recently, journals seldom published color photographs and other color illustrations, because of the high cost of printing them. Today, however, color printing has become more affordable. And for articles online, color does not increase cost. Thus, more color illustrations are appearing, and use of color has become relatively common in some fields and journals. If you have the option of including color, consider whether doing so will improve your scientific paper. Would color help to tell your story? Or would it be merely decorative or even distracting?
If you are considering using color, see the instructions to authors of your target journal for specifications regarding color illustrations and for information on any charges for color. If color illustrations are to be printed, authors commonly must pay a fee. Some journals, however, do not charge for color. For example, the guidelines for illustrations in American Chemical Society journals state: “The use of color to enhance the clarity of complex structures, figures, spectra, schemes, etc. is encouraged. Color reproduction of graphics will be provided at no cost to the author.”
6. LINE DRAWINGS
In some fields (for example, descriptive biology), line drawings are superior to photographs in showing important details. Such illustrations are also common in medicine, especially in presenting anatomic views, and indeed have become virtually an art form. When illustrations are necessary, the services of a professional illustrator generally are required. Such illustrators are available at many universities and other research institutions and can be identified through associations of scientific and medical illustrators.
Source: Gastel Barbara, Day Robert A. (2016), How to Write and Publish a Scientific Paper, Greenwood; 8th edition.
My brother recommended I may like this web site. He was entirely right. This post truly made my day. You cann’t consider just how much time I had spent for this info! Thank you!